The IR Experiments Module is one of the most powerful tools in the IR Platforms' arsenal. It will deliver revealing trends and insights into your product visibility resulting in improved CTR and lowering CPC
How To Videos:
Product Type Optimisation:
Image Optimisation:
Title Optimisation:
Firstly we'll look at setup options. ( click here to skip to Hand Hints and Tips)
The setup options are actually very straight forward, but obviously imperative to what kind of experimentation you're wanting to achieve. It's also important to have in mind a quite particular experimentation goal, as oppose to just going in blind to 'have a go'.
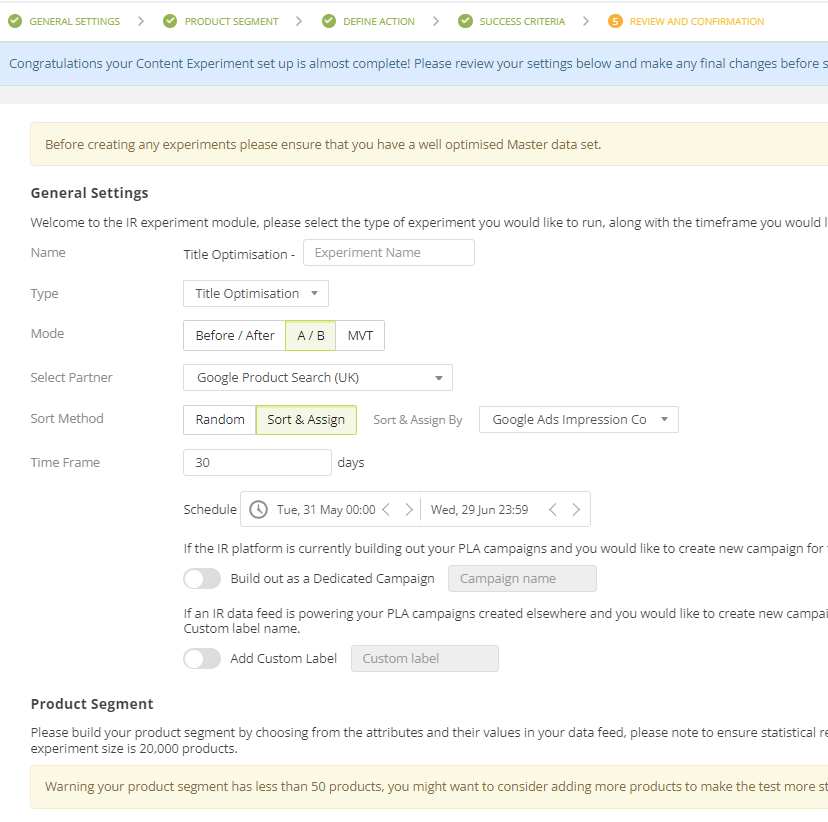
1. General Settings
Type: 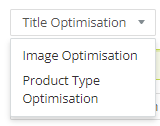
You're presented with three types of experimentation:
Title Optimisation: Experimenting on alternative titles (or names) of your products, how they're worded externally.
Image Optimisation: Experimentation around using different product images and the impact they have on.
Product Type Optimisation: Experiments on the 'unseen' yet potent 'product type', what you include (or don't include!) in the product type wording can reap results.
Mode:
Then select the experimentation mode:
Before / After: As it sounds, this mode of experiment tests how a variant performs over a period of time then compares it to how the current version(s) of the products performed in a before/after scenario
A / B: This would be the most common mode of experimentation for sure. The platform splits your selected product segment into two groups for testing - Group A (current version) and Group B (experimental variant).
MVT: ('Multivariate Testing') this uses the same premise as A/B but adds an additional variant to the experiment, so you've essentially got three - 1) your current version of what you're testing, 2) variant A, and 3) variant B.
Select Partner:
Experimentation is currently fully operational on the Google Partner Feed (CHECK THIS WITH MARK): 
Sort Method:
If you have the Google Ads Data connector you can now sort & assign by google impressions or you can use the metrics to filter your set of products for the experiment in the first place.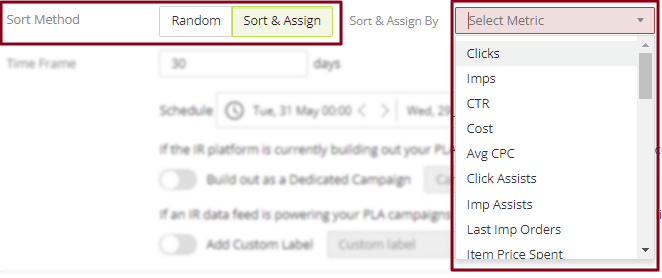
For Sort & Assign, think of it like being ordered by height before being separated into teams when you were at Junior School, to ensure all the bigger children weren't in one team
Time Frame:
Here you have further options of selecting the duration and time frame of the experiment, and setting the experiment as a specific campaign, and labelling it if desired:
2. Product Segment
At Product Segment we'll select what product segment(s) we want to include in the experiment by selecting attribute values. Now, here's where the 'tips and best prac' of this article begins:
To make sure you get the most out of your experimentation, one thing worth checking over is if you have as many of these attributes in the below table (where applicable to your brand and products) populated over in the Master Feed. That way if you want certain attributes included in an experiment it'll have the data in there to experiment with!
|
Quantity Brand Category Merchant Category Path Merchant Category Level (1, 2, 3, 4 and 5) Price MSRP Discount (% and £/$/€) Grouping Key EAN MPN Size Colour Gender |
Unique ID Season Material Age Group Label(s) (1, 2, 3, 4 and 5) Sub-brand Base Name Standard Colour Pattern Clothing Style Occasion Custom Variable(s) (1, 2, 3, 4, 5, 6, 7, 8) Name Value Attributes Colour Grouping Key |
Then set the Product Segment for experimentation: 
3. Define Action:
Define the action of the experiment: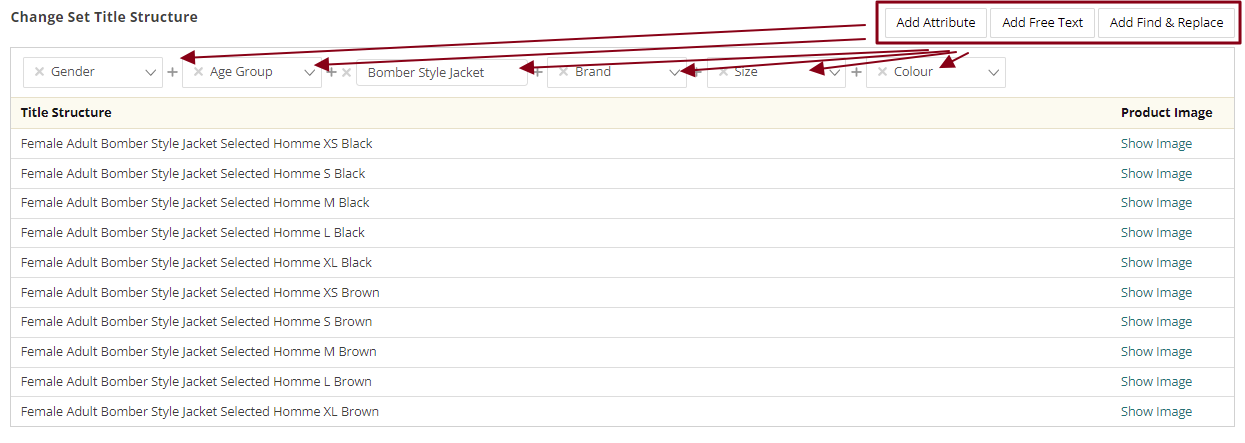
4. Success Criteria:
Set the Success Criteria: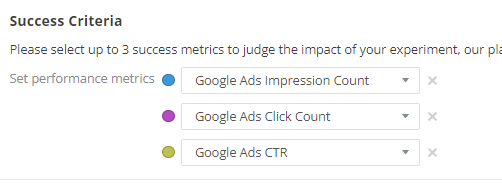
Review and Confirmation:
Handy Experimentation Hints & Tips:
- Are all experiment attributes populated (where relevant and applicable)? (e.g. Base Name, Standard Colour, Category Levels etc, from that attribute list table above
- The first 75 characters of a title is what show in an ad – is the title accurate as possible without narrowing too much, while utilising those first 75 characters in the best way
- Is there a clean Base name to work with – the product title without any attributes
Some common useful experiments:
- Images – close up vs model shot
- Brand name at the start or end of the title
- Other key wording in the Title or Product Type
- Key 'cue' words in the Title (e.g "as worn by ____ / seen in _____")
- Localisation tests – 'Pants' vs 'Trousers', 'Sneakers' vs 'Trainers' etc.
- Colour generalisation – e.g. "dragons blood" vs red
Click here to go back up to Setup
