Lookup Lists is a really helpful tool to change multiple values at once, for example, changing descriptive colours to more standardised colours which we will show in this article.
Video Walk through:
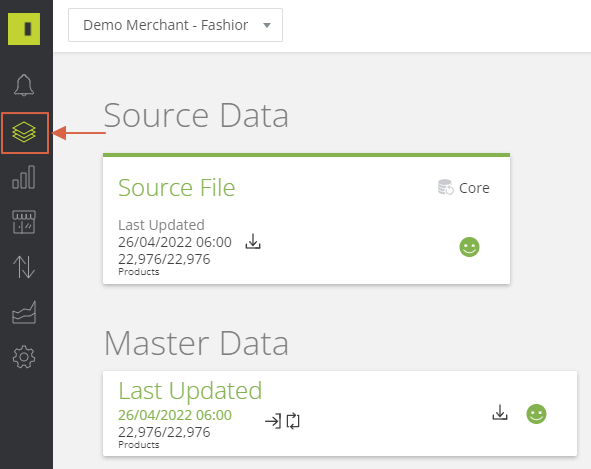
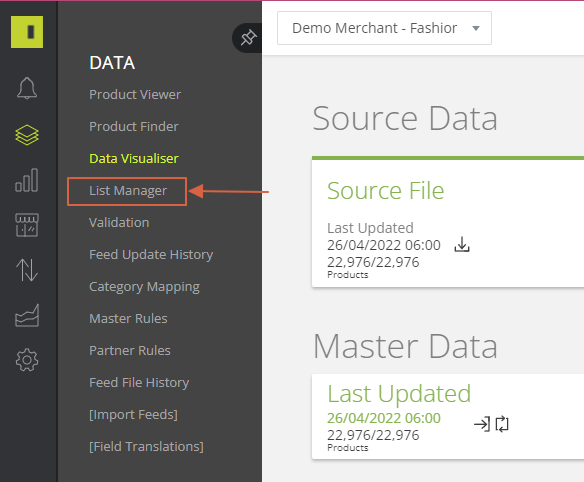
To reach the List Manager, select Data and then List Manager
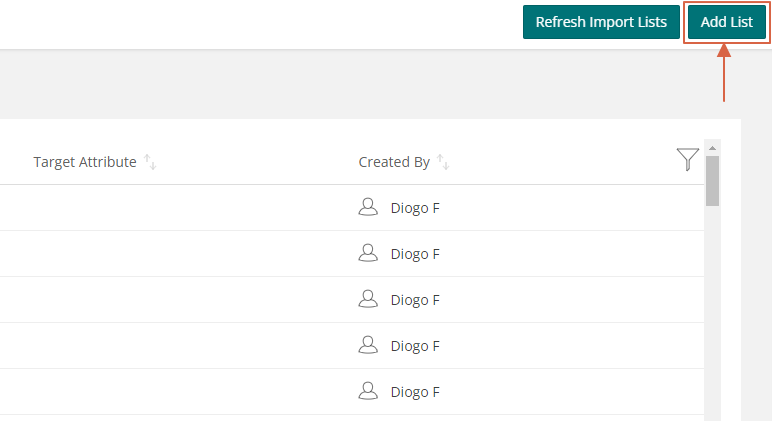
This will then take you to the List Manager page and contains any pre-existing lists you have created.

In the top right hand corner, click Add List to create your new list
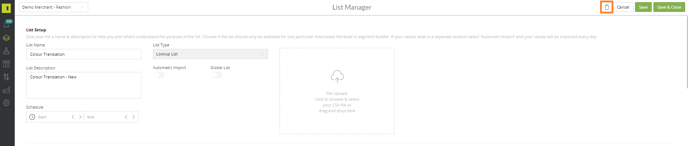
Enter a List Name and a description
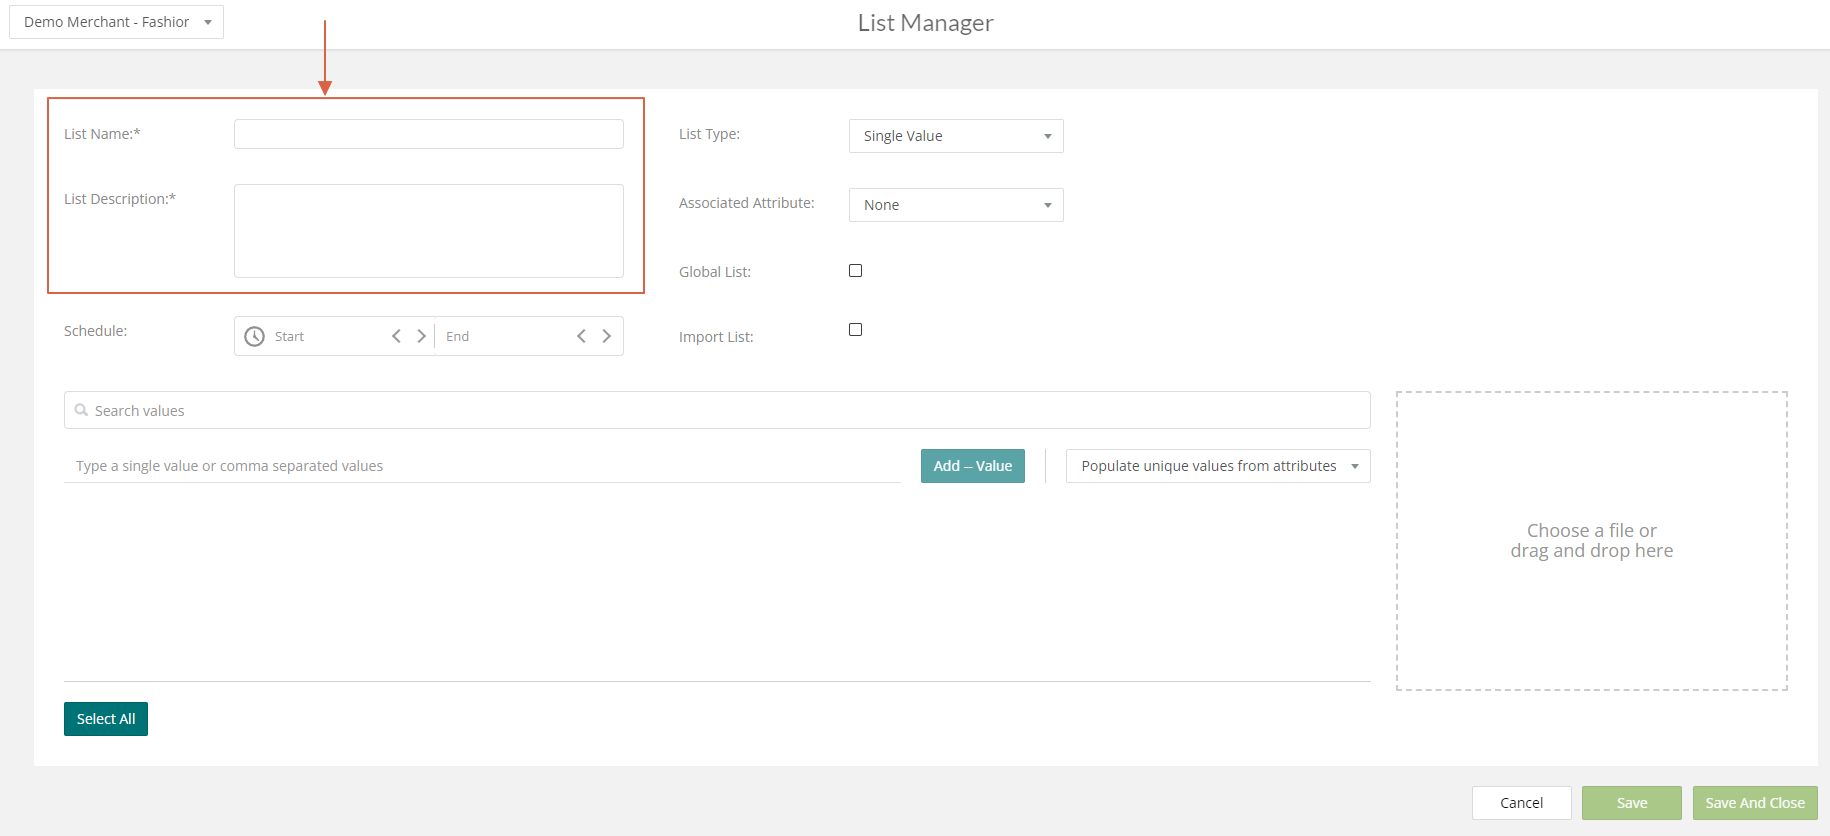
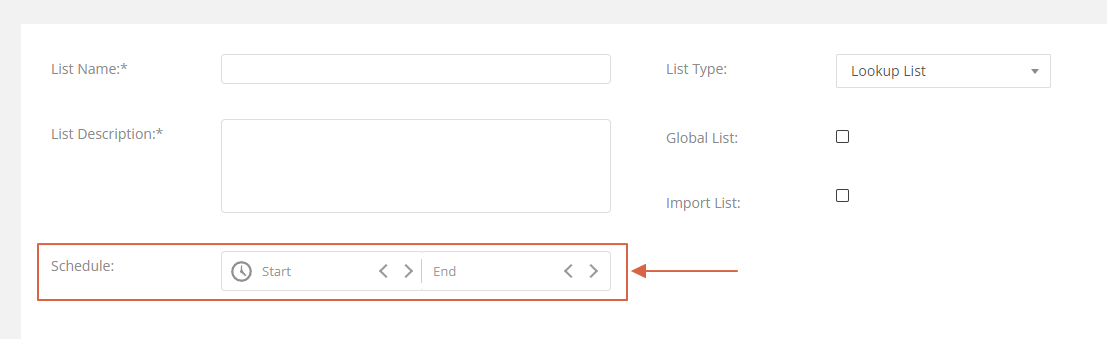
If you wish to have the Lookup list only run for a set amount of time then you can use the Schedule to created a start and end date.
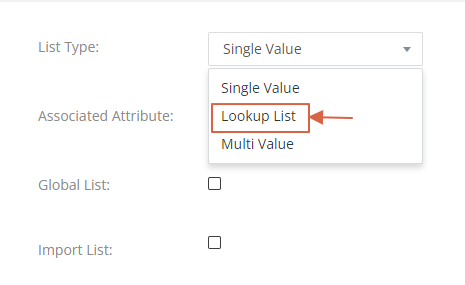
 For list type, select Lookup List
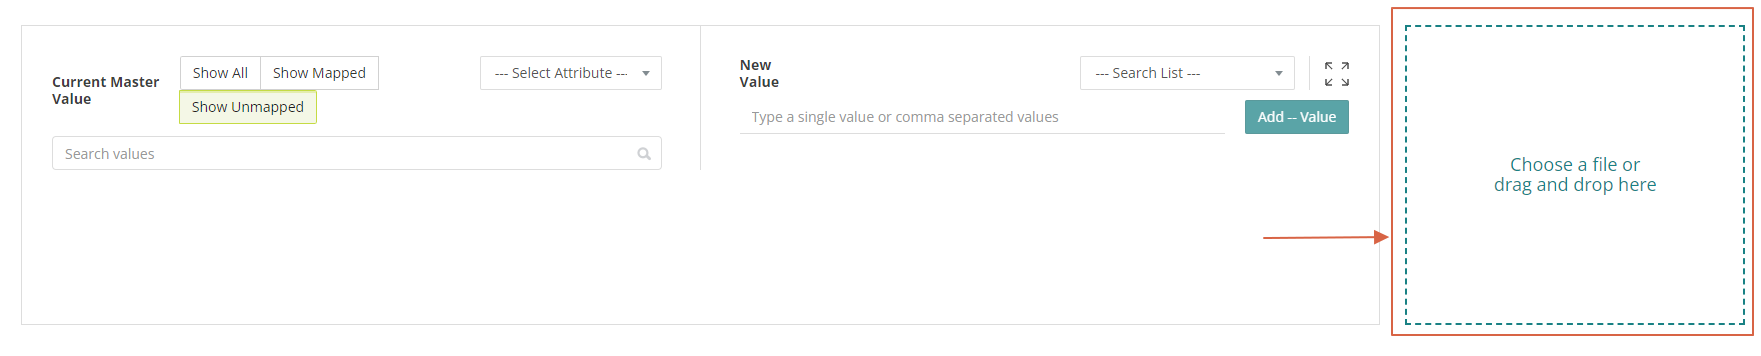
This will bring up the Current Master Value and New Value screen at the bottom of the page

There are two ways to be able to create the lookup lists.
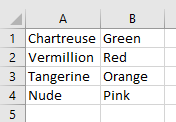
You can upload your Current Value and New Value on a CSV document as shown below:
On the platform you can then upload or drag and drop the CSV file in the upload box
 Select the delimiter for the file. You can also check the percantage of matches by clicking Check Match Rates. If this all looks okay then hit Add Values To List.
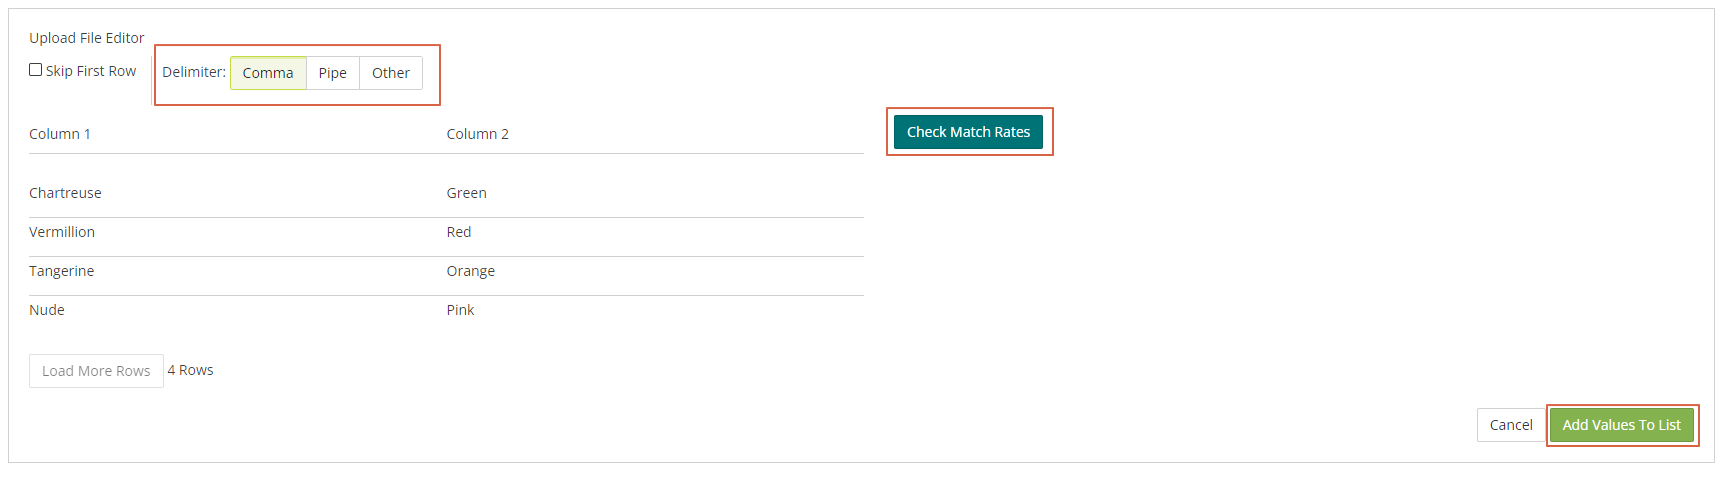
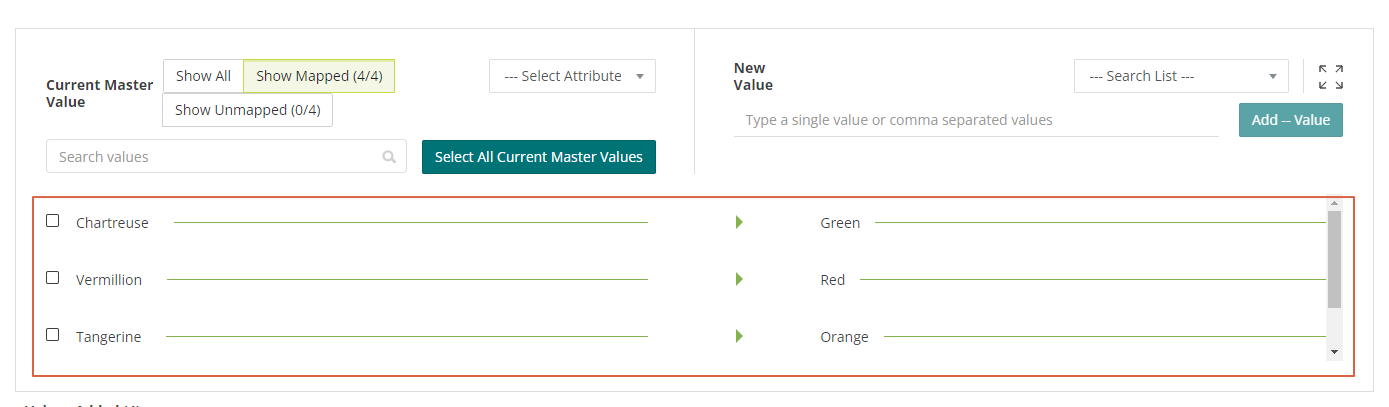
This will then automatically map the colours to their new values
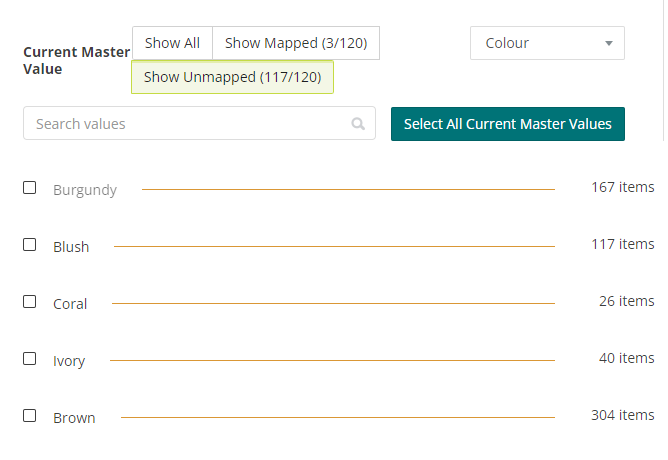
Alternatively, if you do not have a library of the values you wish to change, you can do this manually by selecting the attribute you would like to change on the drop down
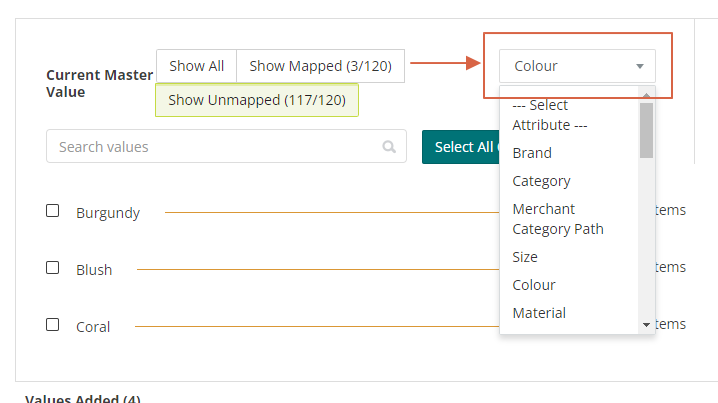
This will bring up the values that are currently in the Master Feed
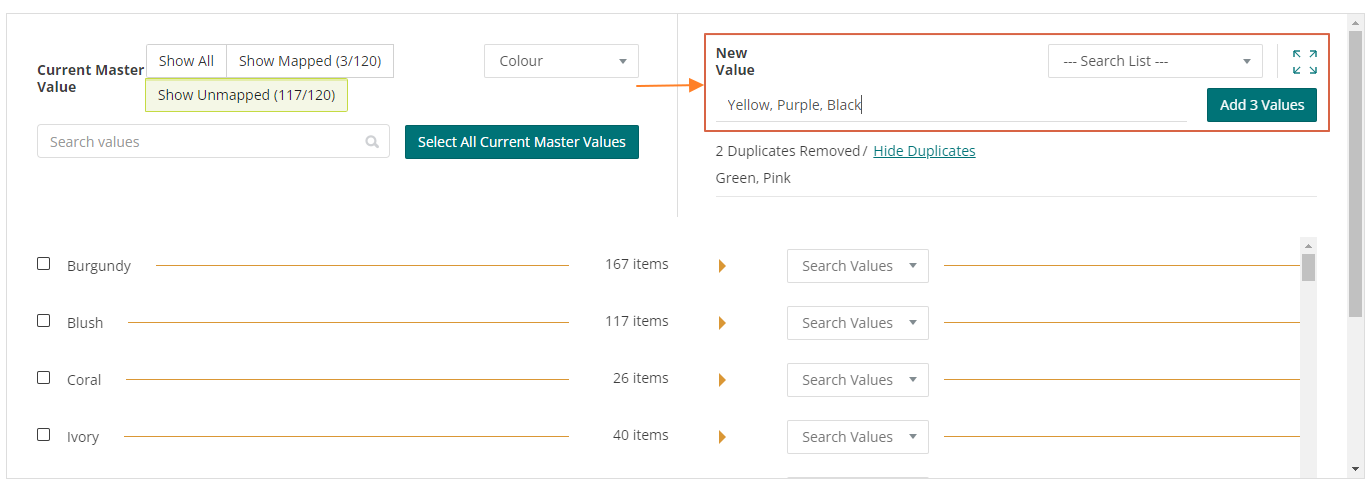
To then map the new colours you enter the new values in the free text box either individually or comma separated and hit enter or Add Values
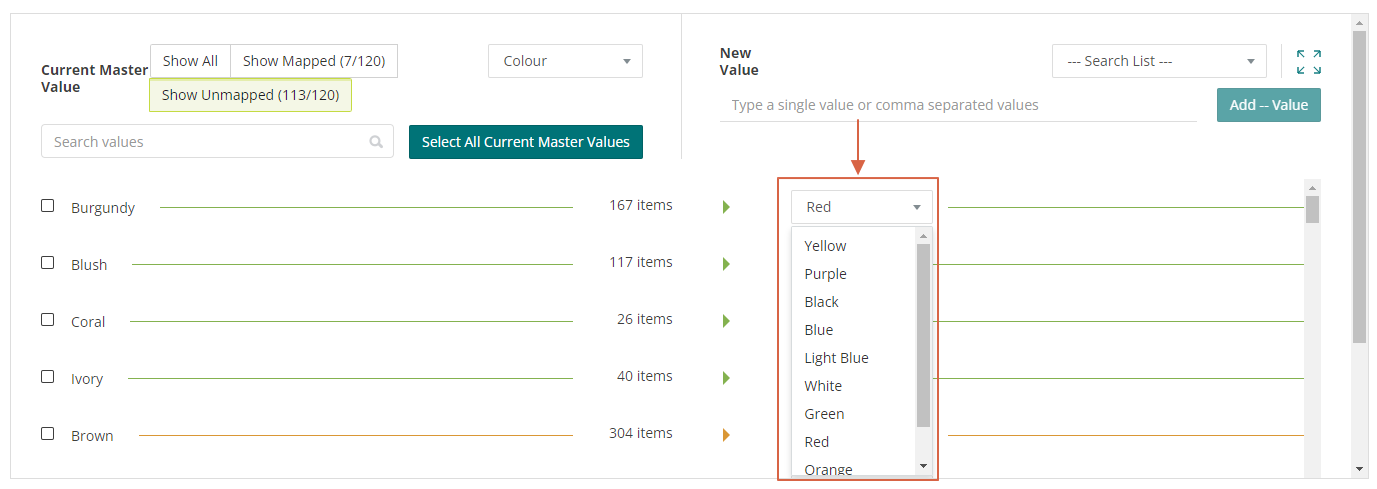
You can then manually map each value in the Master Feed to the New Value by clicking the drop down boxes and selecting the new value.
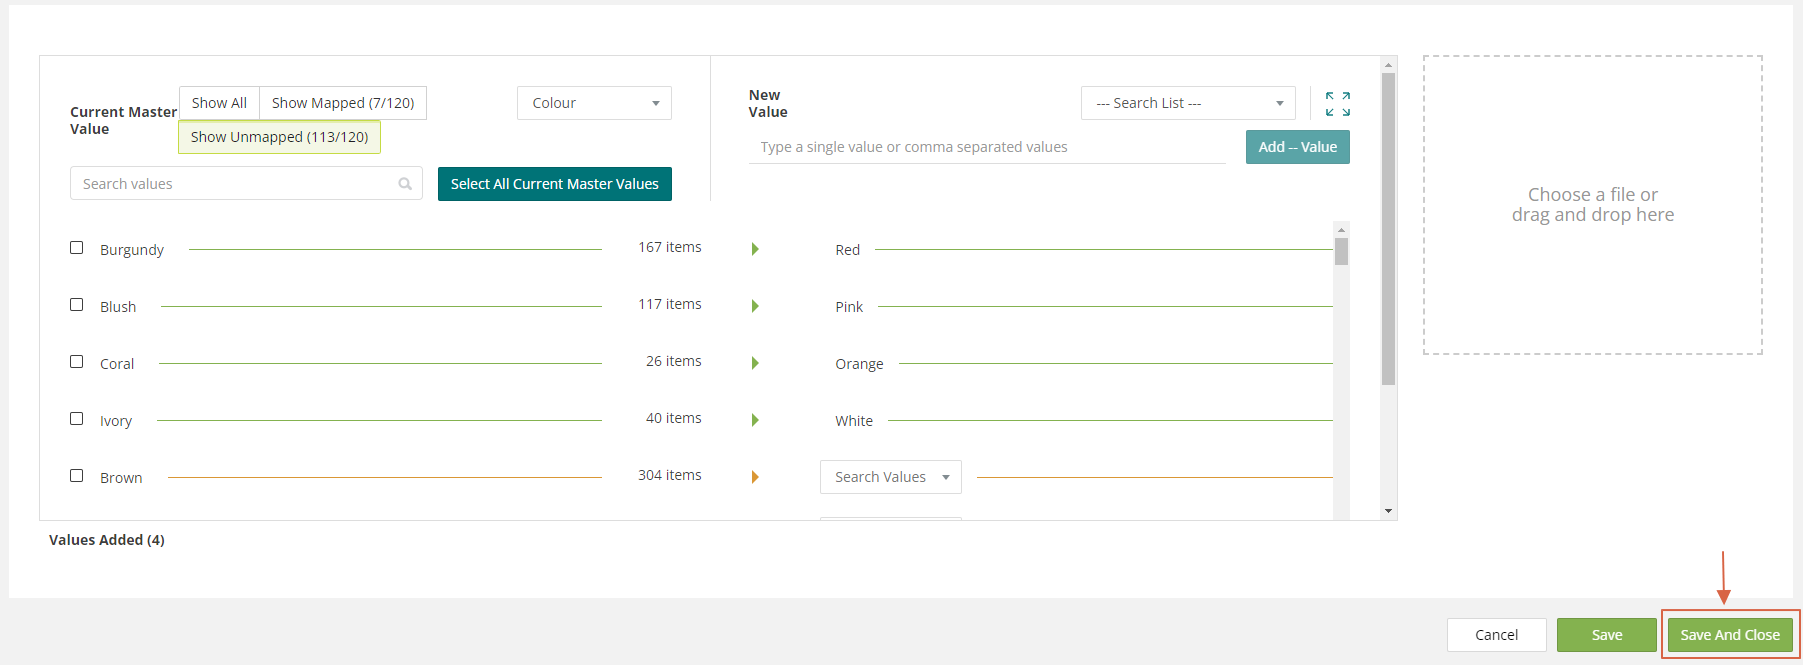
Once you are happy with the mapping, click save and close to then be able to use the Lookup List.
To delete any lists, click back into that list and you will now see the bin icon in the top right hand corner