How to create basic Labels
Our guide to help you roll out sophisticated and dynamic product labels for your product groups.
The Label manager allows you to group products in your data feed in a way that is meaningful to you. Labels can be implemented for campaign structure, organisational purposes, identify under or over performing, high/low margin products and more. It's a way to segment your data using any combination of attributes and performance. Labels can be created and applied at master and partner level. The rules you use for these labels ensure they update automatically as products qualify under the criteria (or move out).
There is no limit to the kind of labels you can create on the IR platform, they can allow you to really drive performance through product data and take your product marketing activity to the next level.
Written Guide for creating labels
Accessing the Label Manager
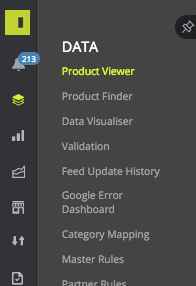
Once you’ve logged into your IR platform account, to access the label manager click on the Data icon on the left hand navigation
And then on the Product viewer option at the top
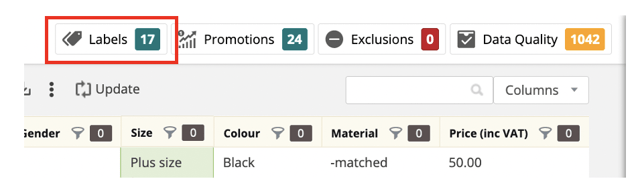
At the top right of the Product Viewer, you’ll need to click the Labels button (top right of page).
Labels on a Master & Partner level
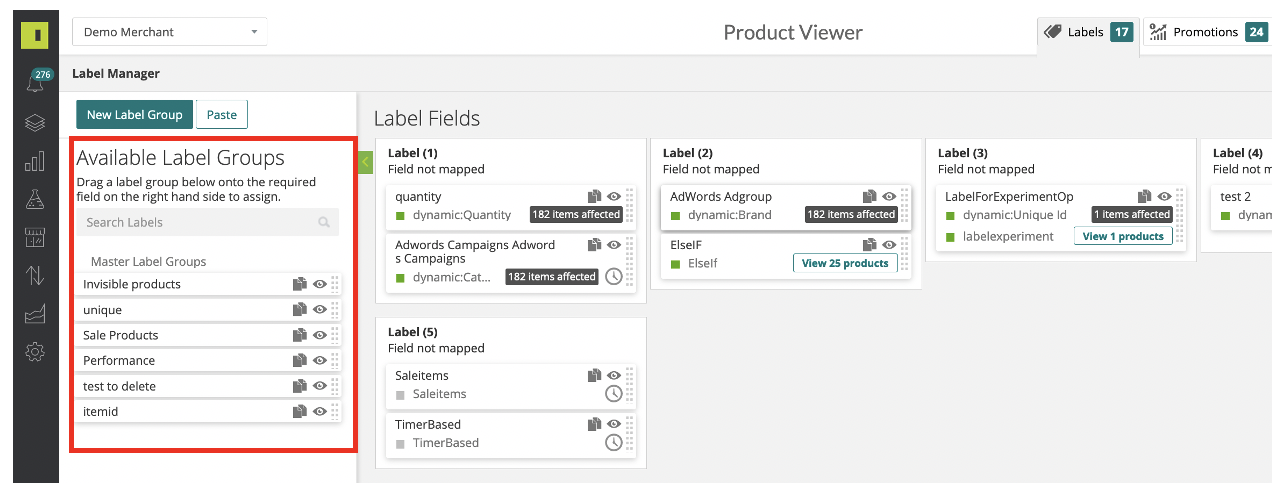
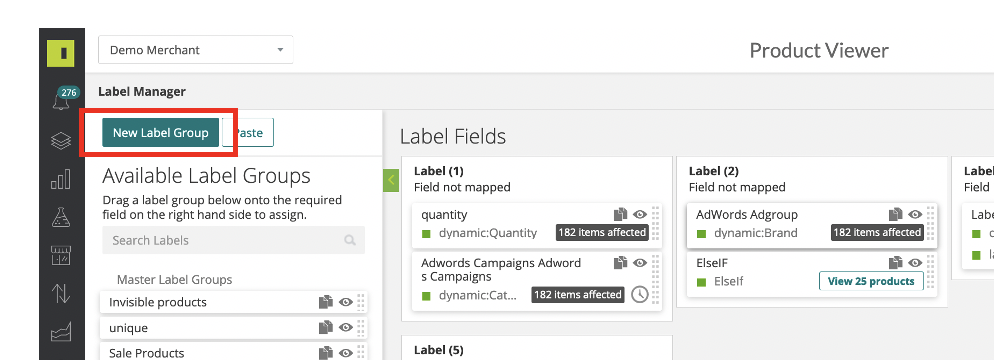
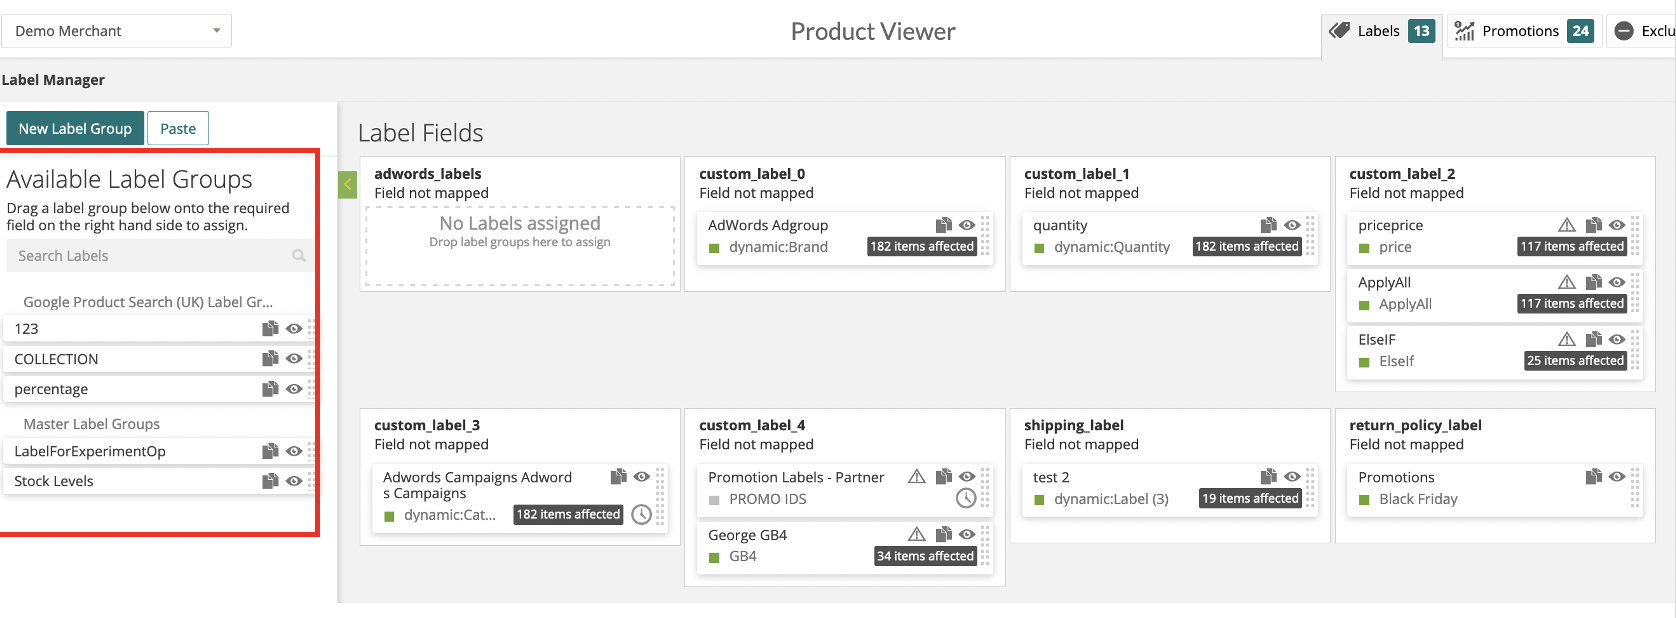
In the Label Manager, you’ll be able to see previously created available label groups on the left hand side. On the right hand section you can see the label groups which have been assigned to your master or partner fields (depending which feed you have open on the Product viewer)
The Label group houses the actual labels themselves, so you could have a group called Stock, and within the group you will have 3 labels: high, medium and low which apply across your product feed depending on the criteria you set in the Segment builder.
Creating a Label Group with your label values.
First, you’ll need to create a label group. To do this click the New Label Group button
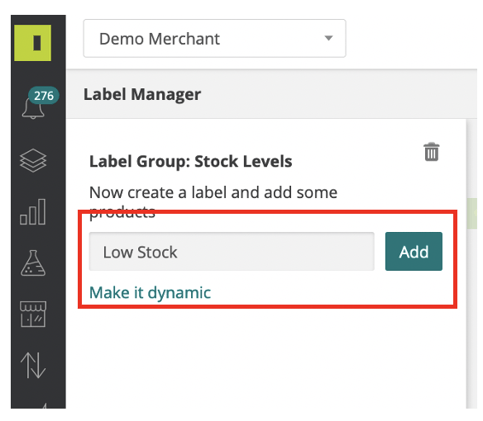
Once you’ve created a label group (e.g Stock Level) you’ll need to create your first label to go into this group e.g Low Stock. Add your name and then click ADD
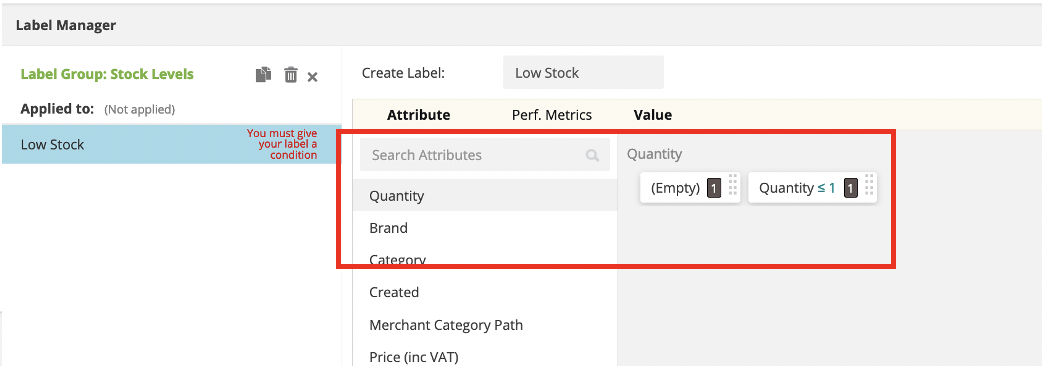
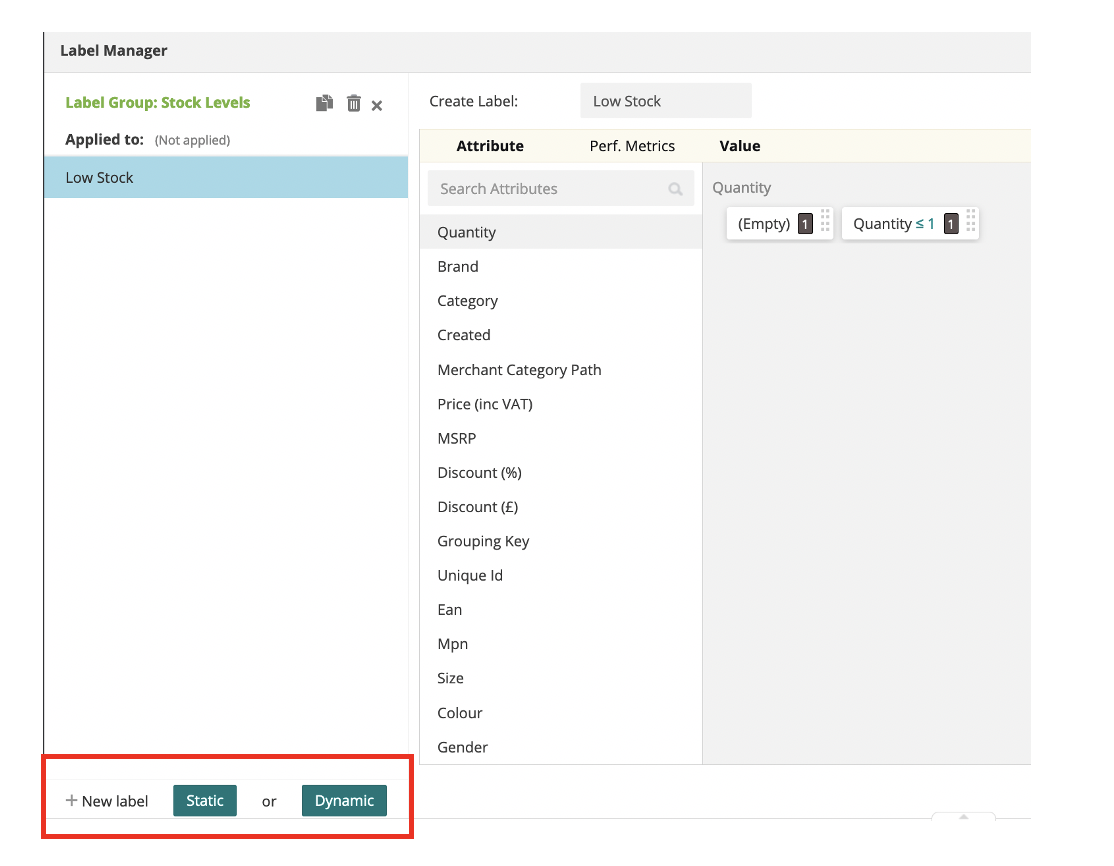
After adding your Low Stock label, you’ll need to select which product attributes or performance metrics to use to build your criteria for which products should have this label value applied. Here we are chosing the Quantity attribute.
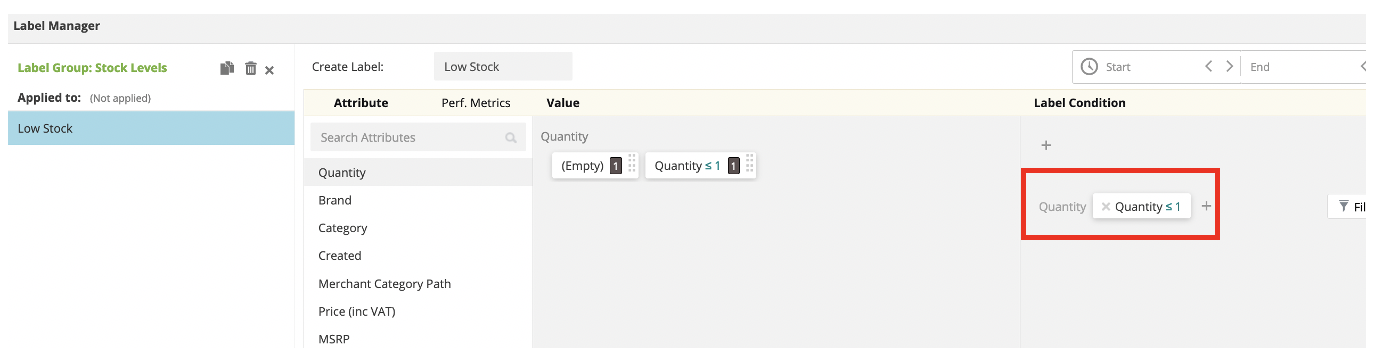
Once you click to select the attribute you will then be able to select the criteria in the value section, in the above case i want less than 1 to show as low stock. Then drag the Quantity value box across to the label condition section.
You can then add additional labels within this group (e.g. Medium Stock) by going to the + New Label section, then choose if you want your label value to be static (specified by you) or Dynamic (using an attribute value from the feed)
All of the labels will dynamically apply to your products, so if a product meets the selected criteria today but tomorrow it no longer does then the IR platform will update the label. So you can set the criteria once and trust that the products will be in the right groups saving you valuable time!
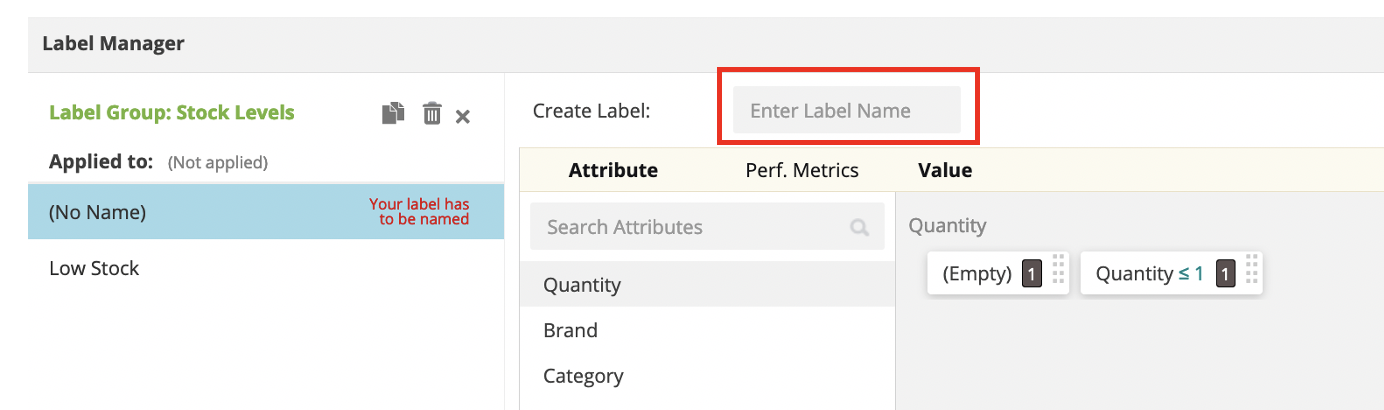
Once the new value is created then simply choose your criteria using the segment builder and remember to give it a name in this box. Remember to save your Label group once you have added all the required labels.
Add Comments or Schedule a Label value to apply
After creating a label, you can either add a comment to provide more context to remind yourself or for your colleagues. You can also schedule your label (top right) to apply to feeds within a certain time frame, or start at a certain point in time only.

Assigning Label groups at the master & partner level
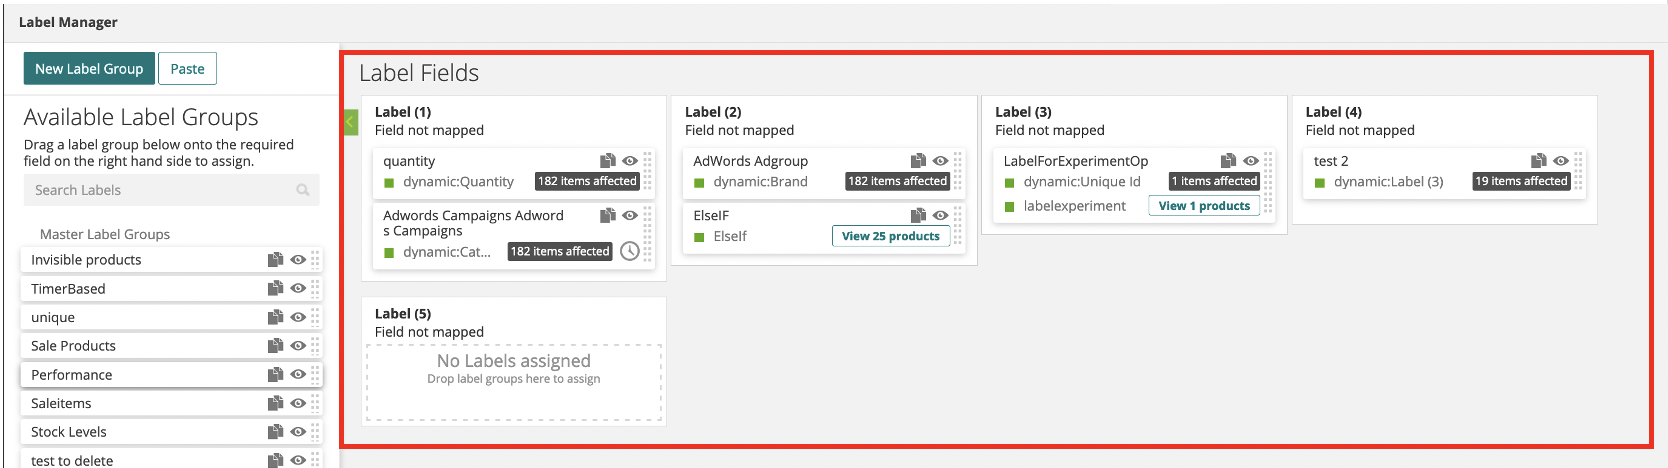
You can apply any of the available label groups to your Master feed by dragging them across to the master field label columns. There are 5 of these but providing you are not mapping these straight through the any of your partners (some legacy clients might have this kind of set up) you can actually add multiple values to the fields.
Unlike Google the IR Master feed can have multiple labels within the label fields, this allows you to have much more complex product groupings available. Best practice is to have general labels set up and managed at the master level so they can be used for any of your marketing partners but managed in one place.
A label group needs to be applied to a Master Label field to be available to a partner’s label field. Any change made to a label at a master level, will automatically update the same label at a partner level.
Assigning labels at the Partner level.
Not all partners have fields for labels, more and more do and certainly the larger partners do. If the partner doesnt then the master labels can still allow you to see performance or data quality for some of these product groups. The likes of google, facebook and others have 5 custom label fields but each product can only have 1 label value in each of them (even though you can assign more than 1 group to the label fields)
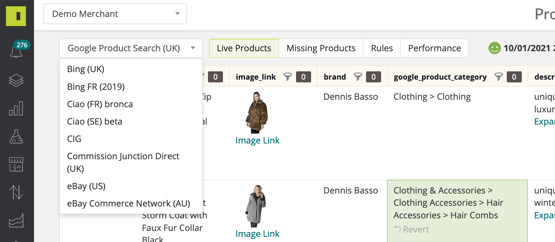
Just chose the partner from the dropdown on the Product Viewer.
and then click on the label button again to open up your partner labels
In the available label group section on the left hand side you will see any of the label groups seperated into those specific to the partner and those created at the master level. Drag any group across onto the label fields on the right hand side to assign them.
- After clicking Save, your labels will be applied to your selected label field when the master/partner feed is next built.
- It is possible to apply multiple label groups to any field, however, if any of the products meet the criteria for more than one label group, the last label group applied will take priority and ownership of this product within the label field. (the bottom one on the assigned label fields.