This article will walk you through the Field Mapping step in the Master Feed Manager
After you have completed the first stage, creating your source feeds, it is now time to Map your Master Feed fields. This will dictate what information is pulled into the Intelligent Reach Platform, and therefore into your Partner Feeds.
The Field Mapping screen is separated into 4 sections, Required Fields, Recommended Fields, Optional Fields and Label Fields. There is also capacity to Add Additional Fields, to cover any use cases not covered by the above.
There are two ways in which fields can be mapped:
1. Using Intelligent Reach's Machine Learning: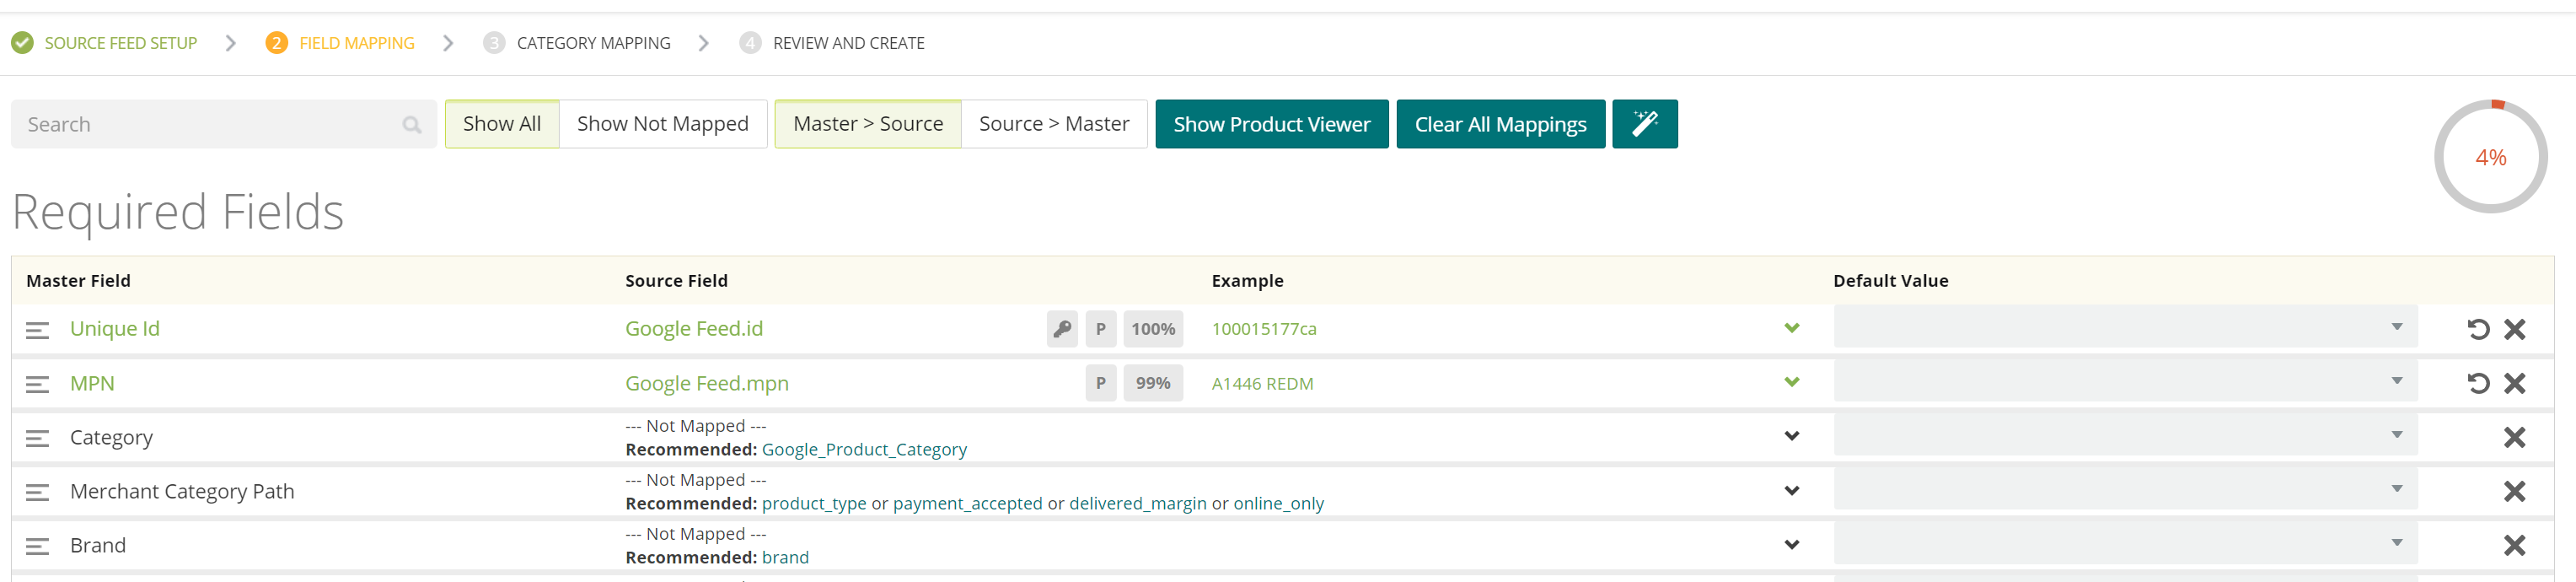
You will see alongside each Master Field value, a "Recommended" field mapping based on the Platforms assessment of the data. You can accept these on a line by line basis, by clicking each hyperlink. Alternatively, you can click the wand icon at the top of the screen, which will automatically accept all Recommended field mappings. If you choose to do this, you can still alter any mappings by clicking each field.
Once you have accepted a suggestion, you will see the field turn Green and an example value will populate.
2. Manually mapping Fields
It is also possible to manually map individual fields, as outlined below:
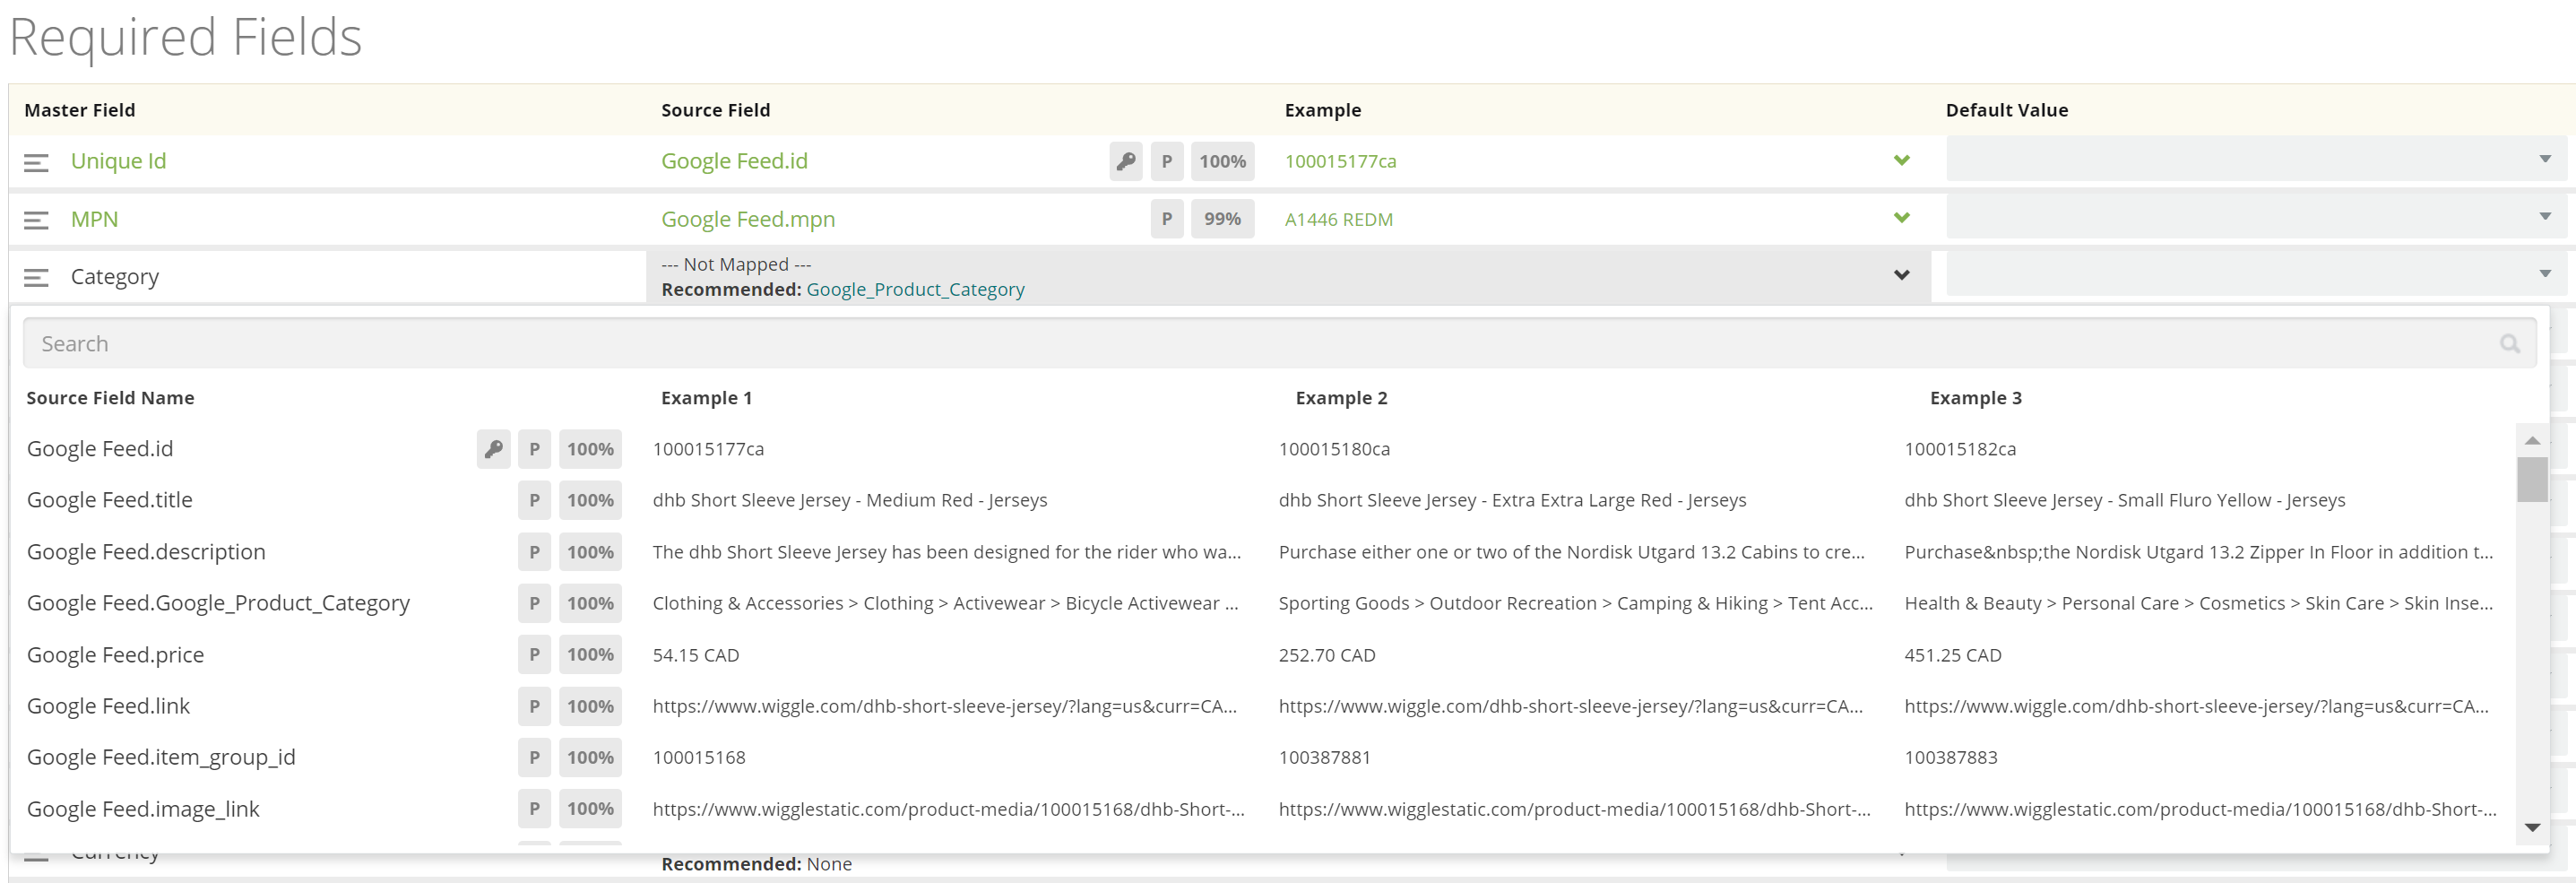
To do this, click into the field you would like to map and then use the Dropdown that opens to review and select the correct field mapping. This will include a % coverage, indicating how many of the products have a value specified for each field as well as 3 product value examples for each field.
Once you have selected the field you would like to map, click to save your selection and the row will turn Green.
If at any time, your mapped field turns Orange, this means there is a validation issue with the data and this would usually indicate that an incorrectly formatted value has been mapped into the column, For example, if a String value has been mapped into a Link URL column:

The expected field type can be seen in the left-most column as below:

In some cases, particularly on Numeric and Price based fields, the system will run analysis on the mapped data, and suggest any automatic fixes based on common use cases that are seen across the Platform.
An example of this would be if the currency code (e.g. GBP) was appended to the end of all prices. The system will suggest an Automatic fix which you can review and accept like below:

Once accepted, the value will then turn green and populate a wand icon on the far right hand column of the mapping screen, allowing to view and edit any auto fixes that are in place:

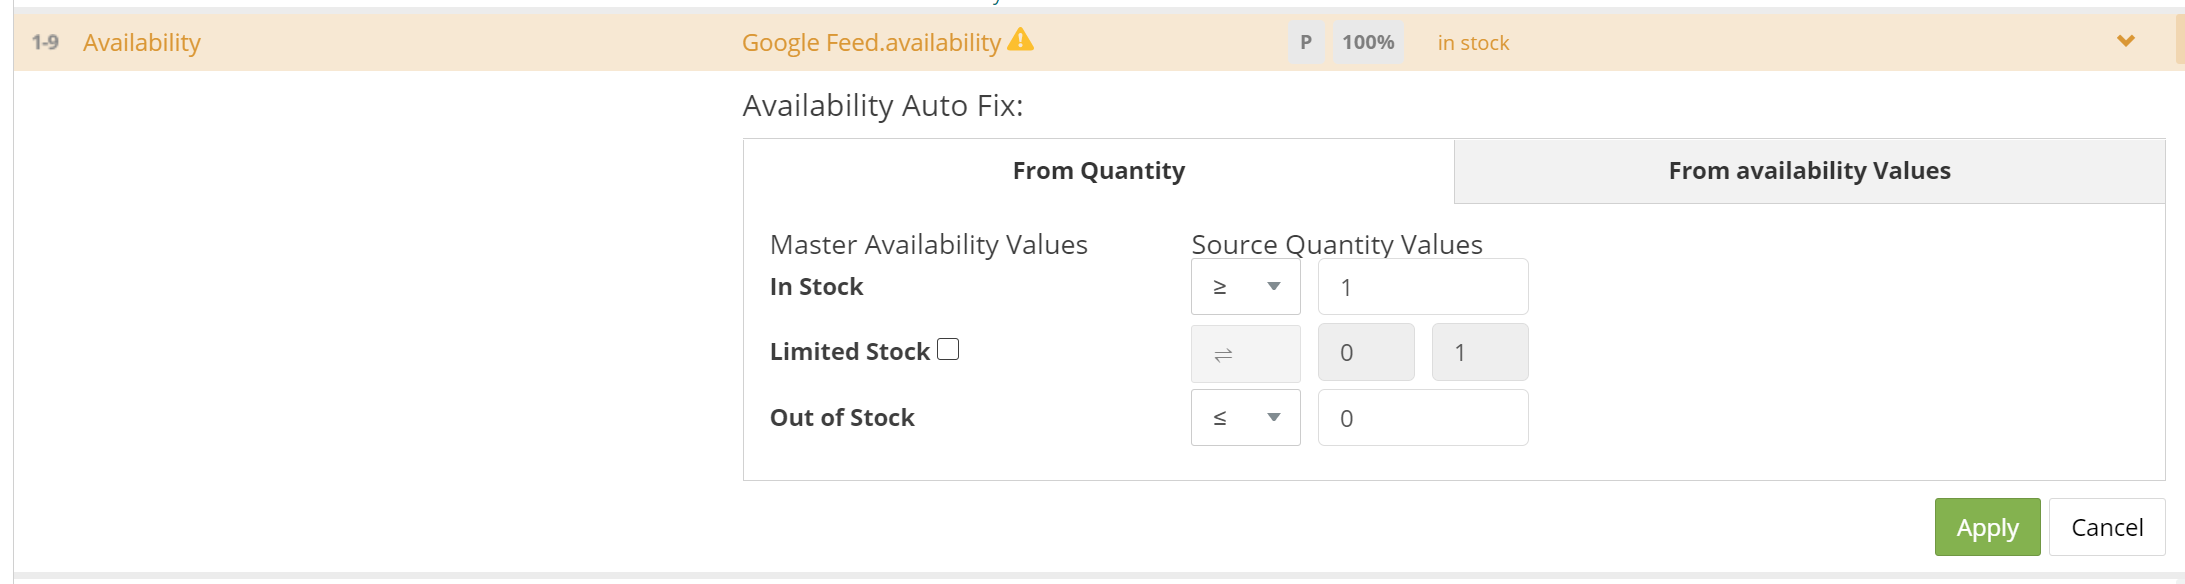
If there are expected values in the system, e.g. Availability, the Platform will also prompt you to map your Source Feed Values, as shown below:
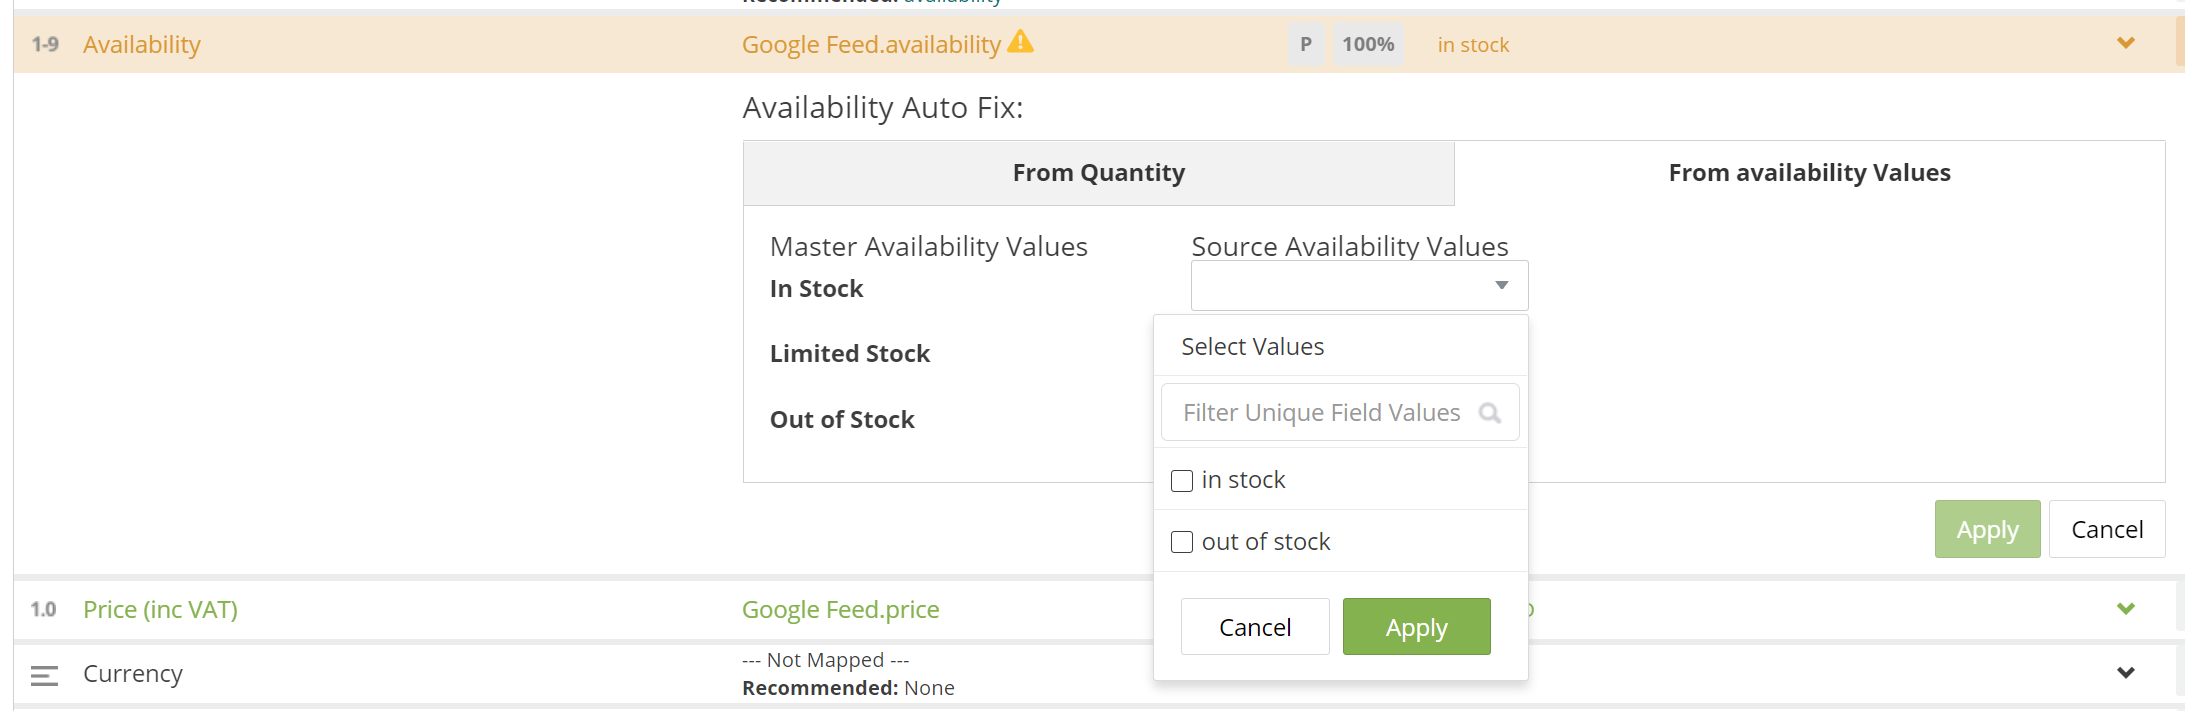
If your Data has availability values, you can select these from the dropdown as shown above and if the data only contains Stock Quantities, you can also map an Availability using these values:
If you need to add any Additional Fields, you can do so by clicking the button in the bottom right hand corner of the page.
This will present a pop-up listing all of the additomnal fields available, which you can scroll, or search as shown below: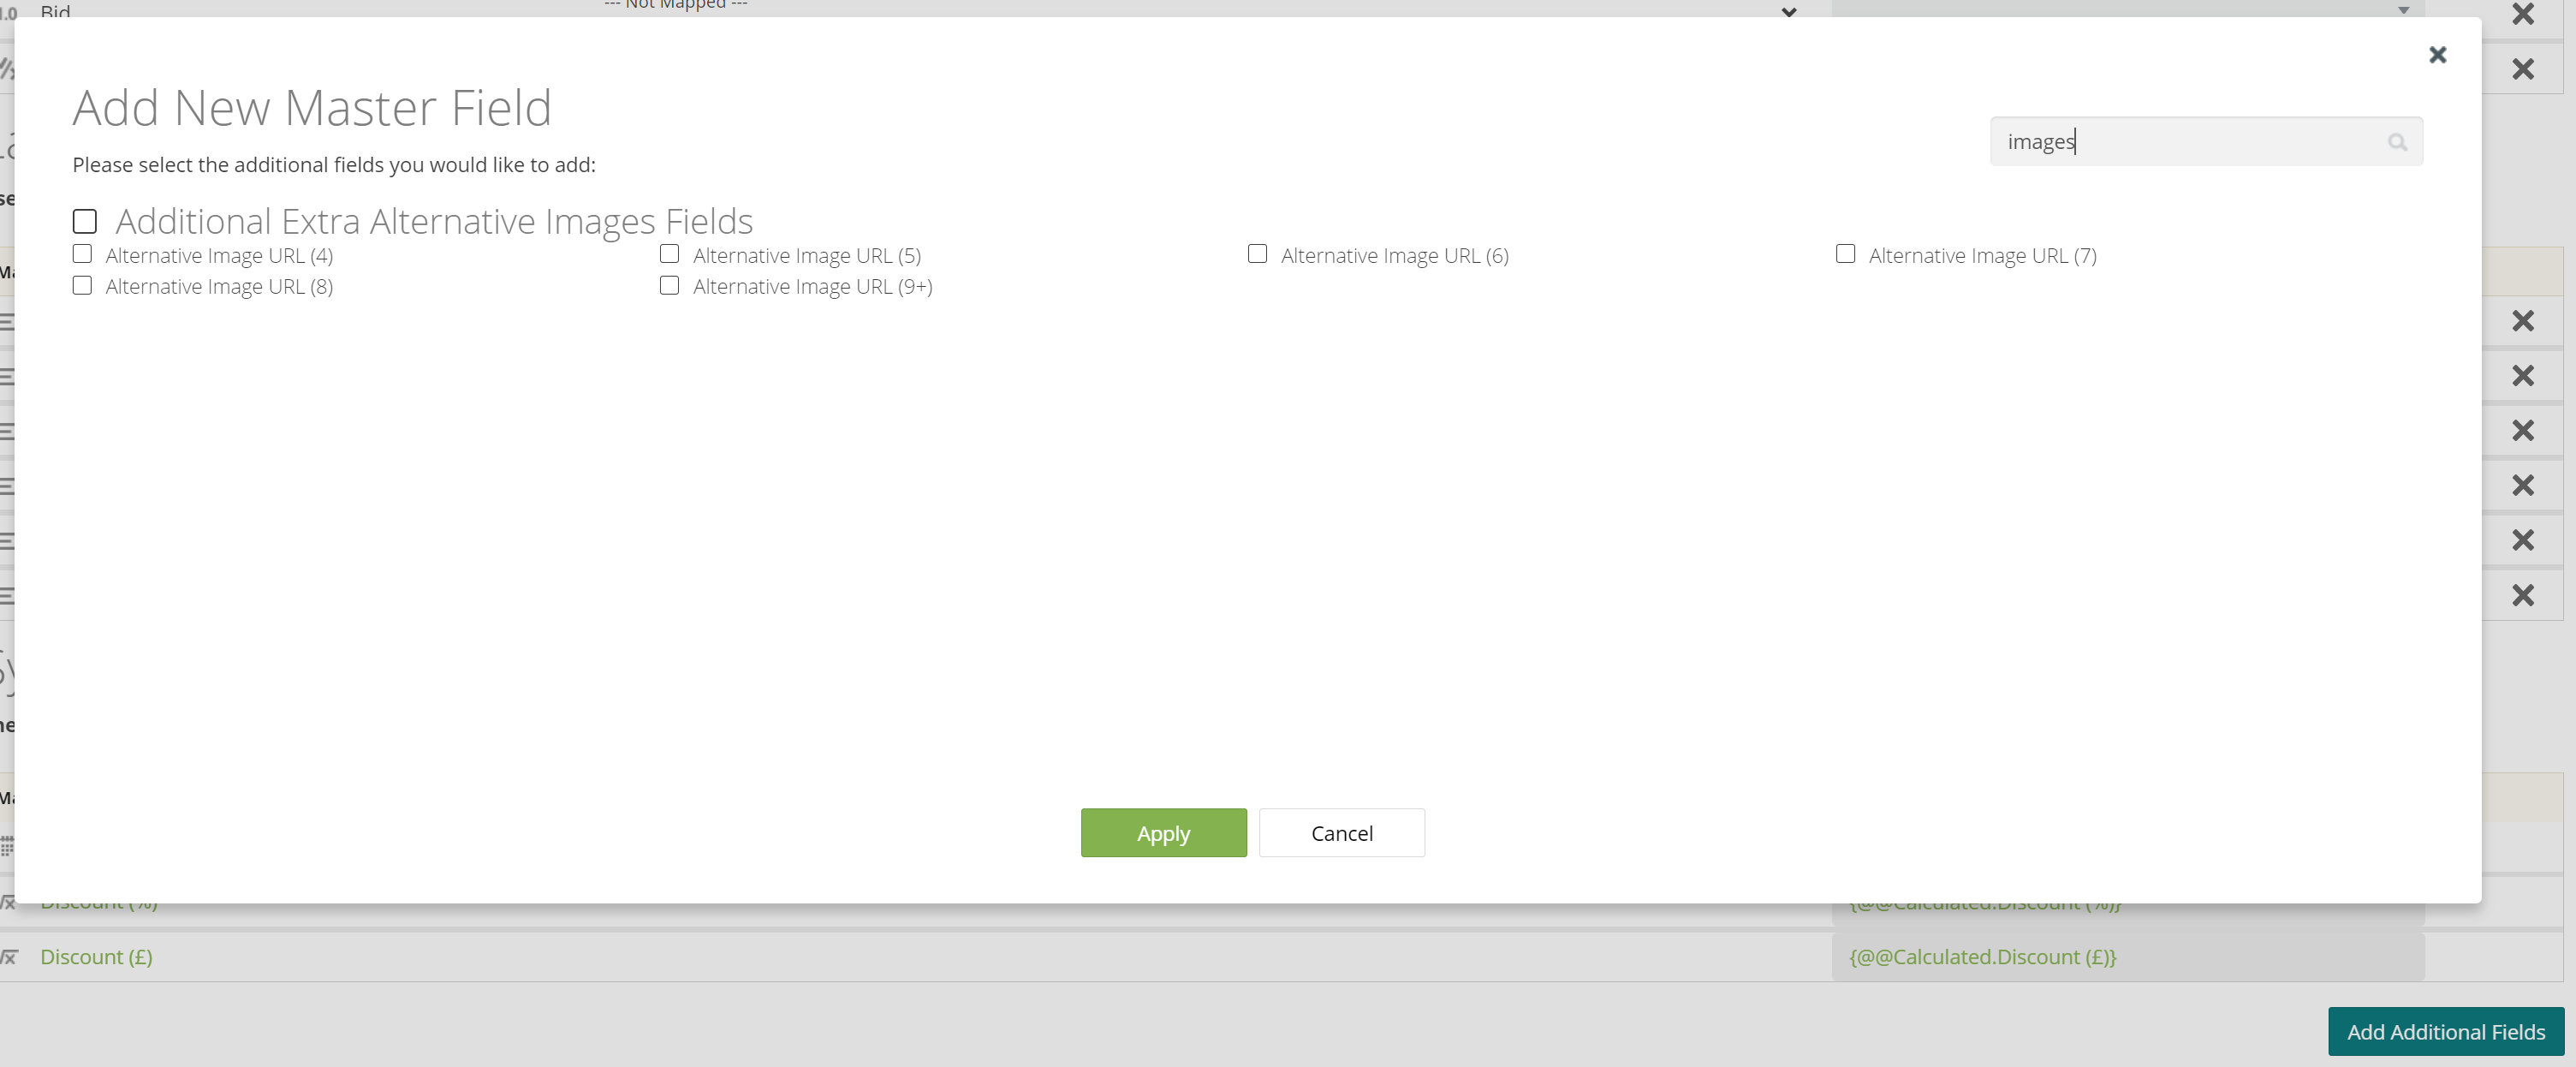
After you have selected all of the fields you would like to add, Click Apply.
Once you have mapped and reviewed all fields, you can proceed to the next step - Category Mapping.